I’ve been drawn to wooden crates for a while now and I knew just what I wanted to do with them for a home project.
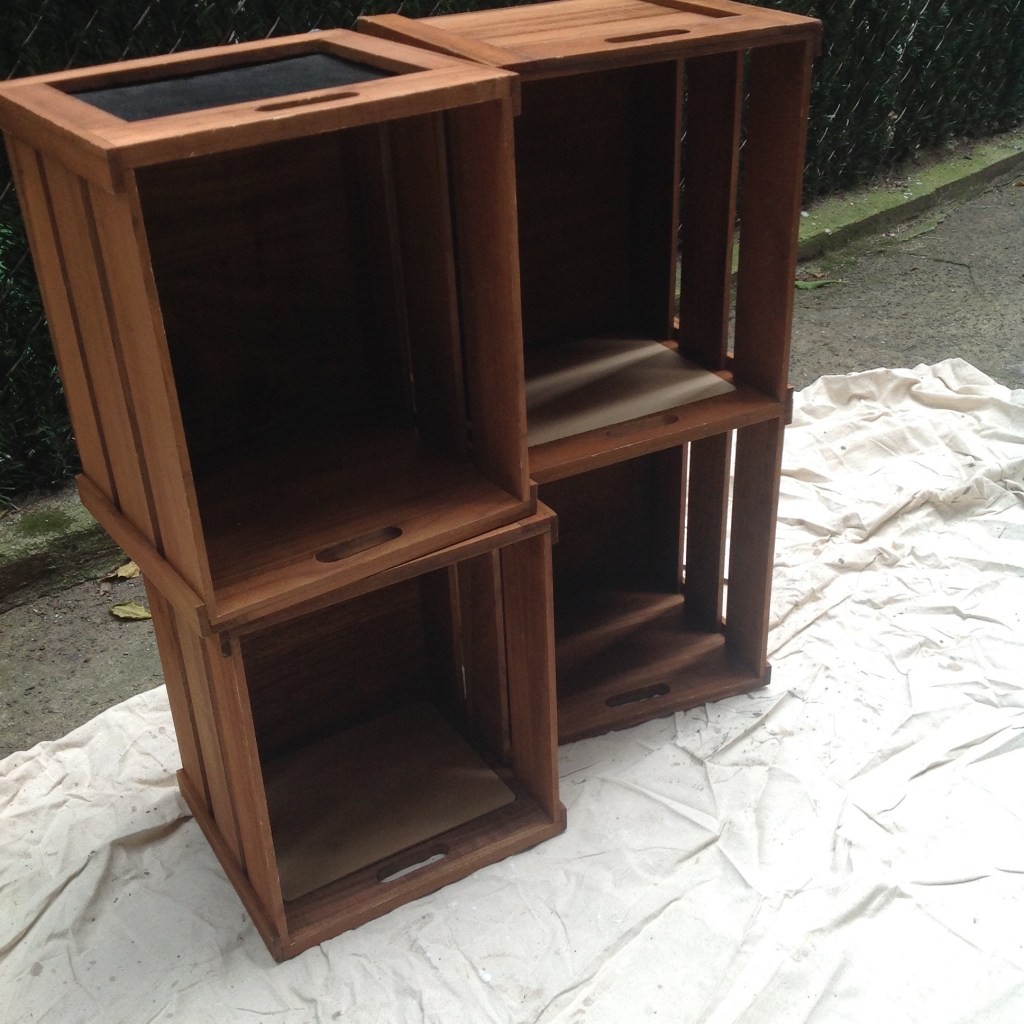
I bought my crates off of someone who was selling his. I didn’t like the ones being sold in stores and thought those were out of my price range so I did a little hunting and found a good match for me! If you need extra storage space, crates are perfect for multi-use purposes. I decided to DIY these bad boys and turn them into stacked shelves.
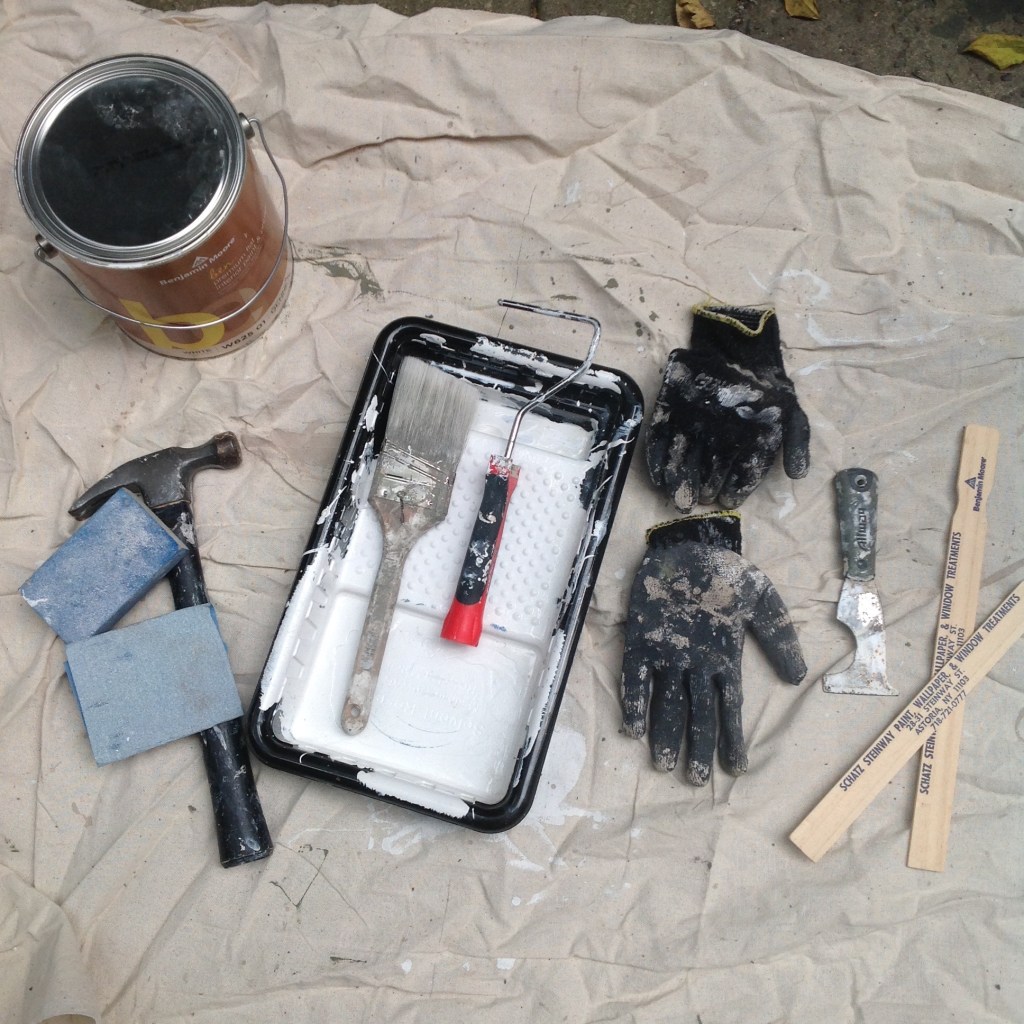
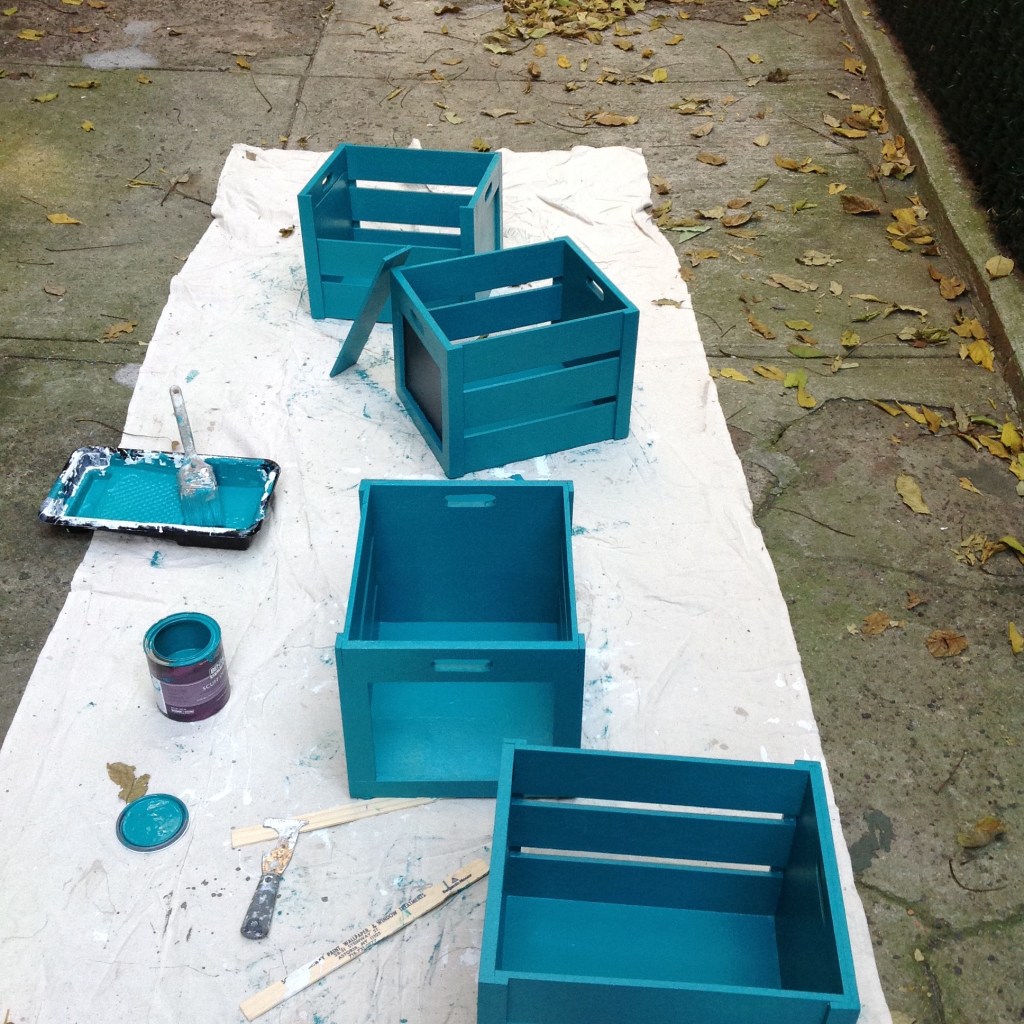
You will need four crates for this DIY, paint color of your choice, a wooden yard stick, paint primer, paint brush, a roller, a whizz roller, tarp, paint tray, paint scraper and gloves. The image above also shows a hammer and some sandpaper but I did not end up using them.
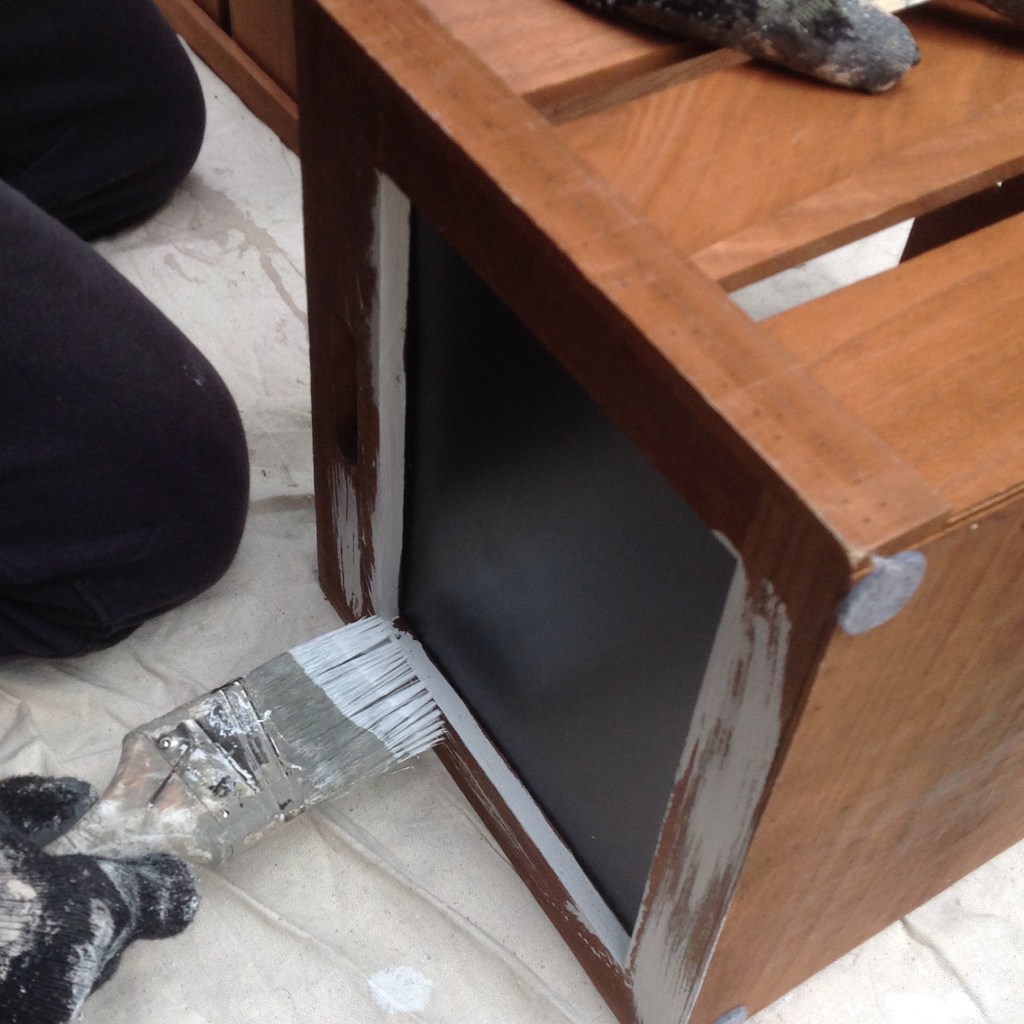
Once you’ve laid down your tarp outside, the first step will be to cut the edges of the crates. To do so go ahead and coat your paint brush with the primer. Be careful to not splatter the paint.
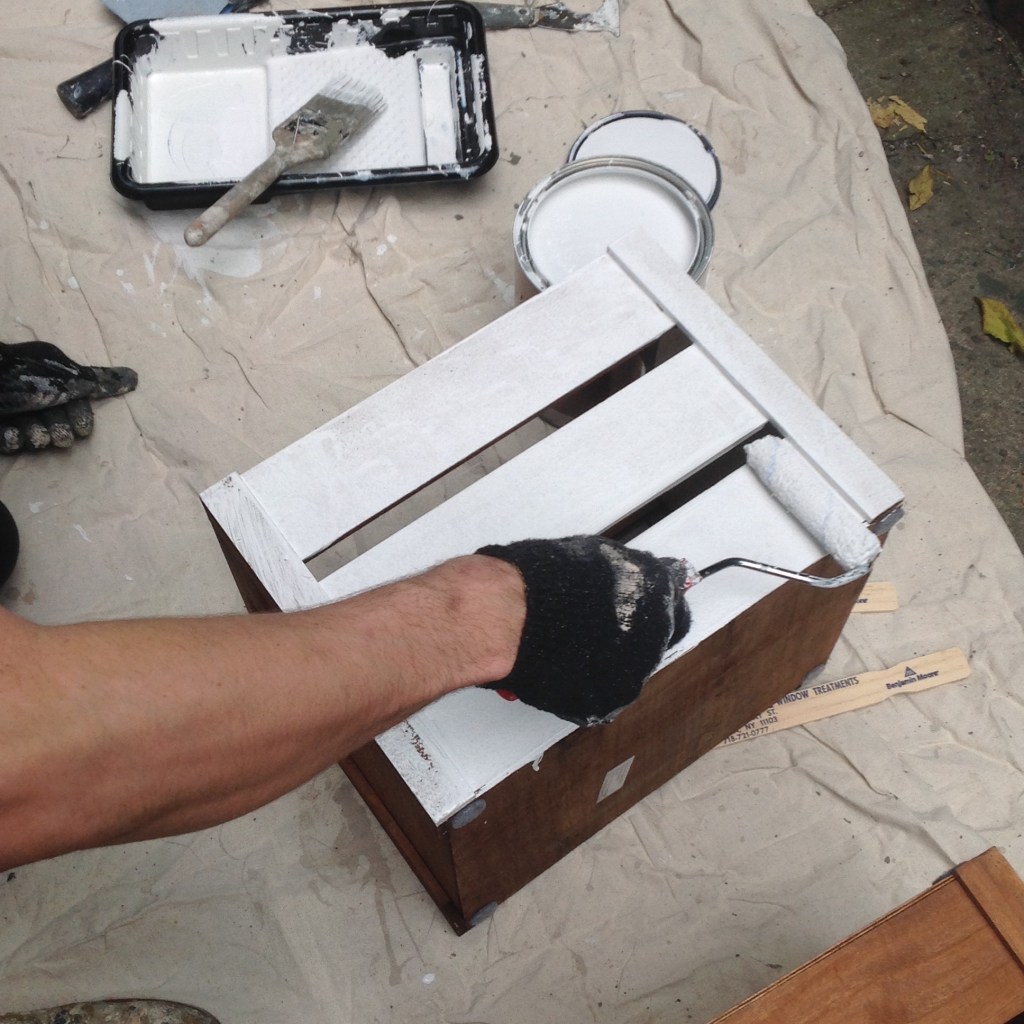
The second step is to take the paint roller and cover the entire crate with the primer. You will repeat steps 1 and 2 with the primer until each crate is painted white.
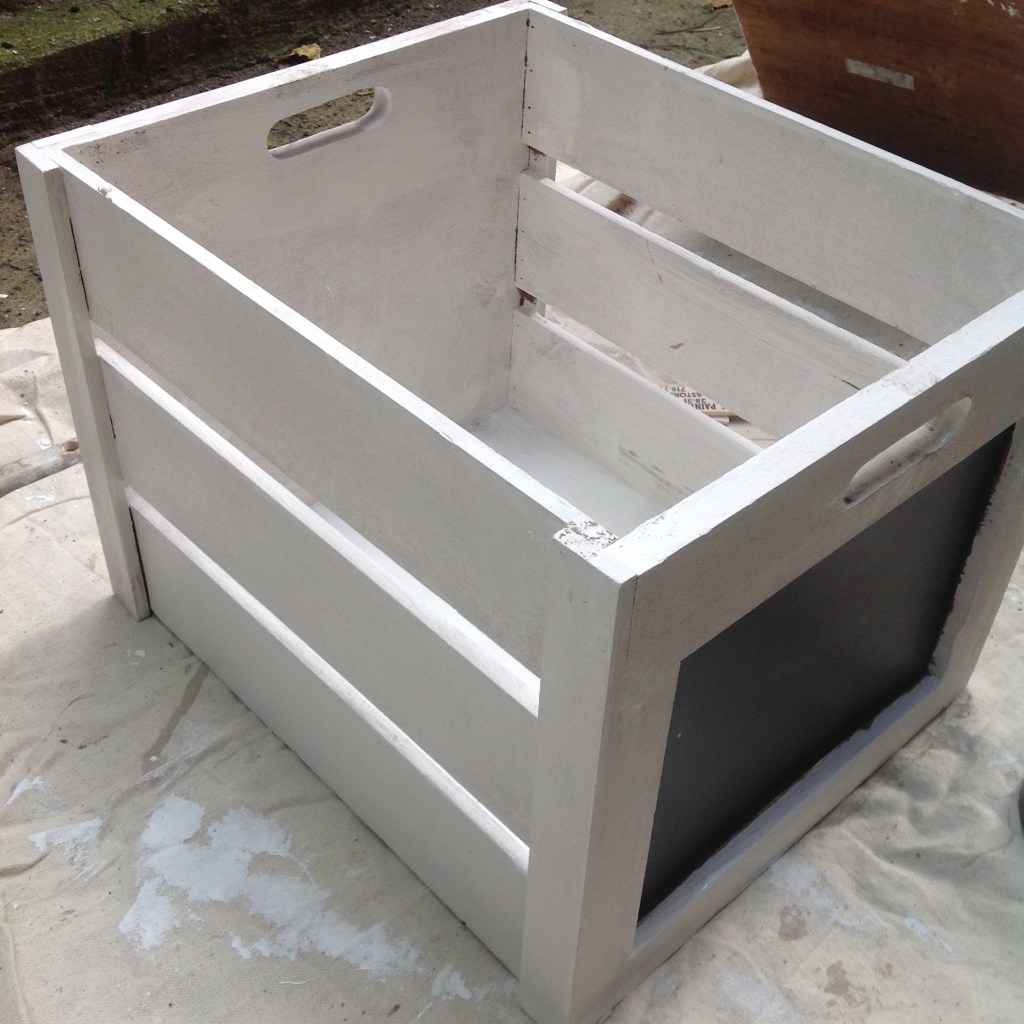
I split up this project in a few weeks so I let them dry all day, until the next time I was going to touch this project. If you want to get it done faster then let them dry completely for a few hours before applying the color of your choice. It’s really important to clean your paint brush after using the primer and letting it dry before your next use. If you have left over primer, leave the roller inside the paint can and then close the lid.
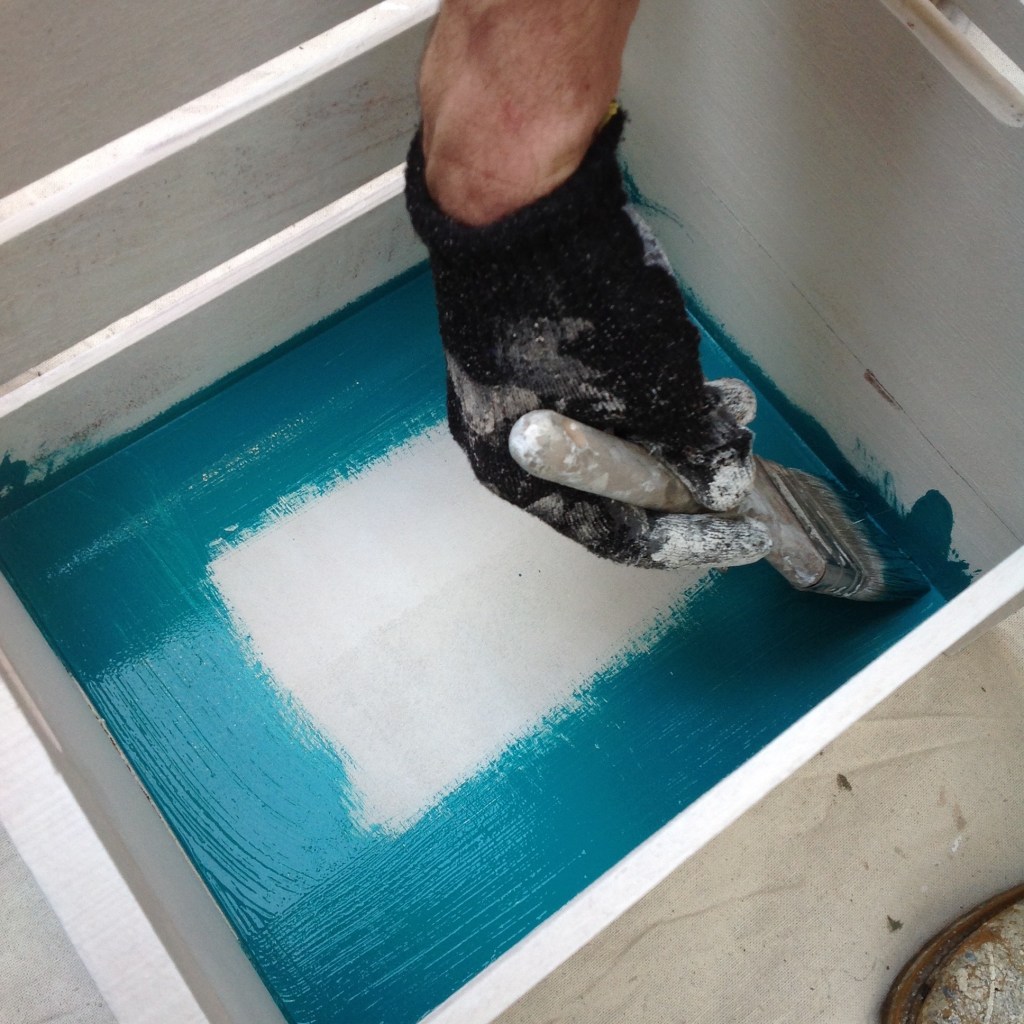
The third step is to spread a coat of color using the paint brush on the inside of the crate. I picked a gorgeous mystic turquoise with eggshell. Eggshell is perfect for an in between of matte and satin finish sheen. It looks amazing on the crates not just for an interior home.
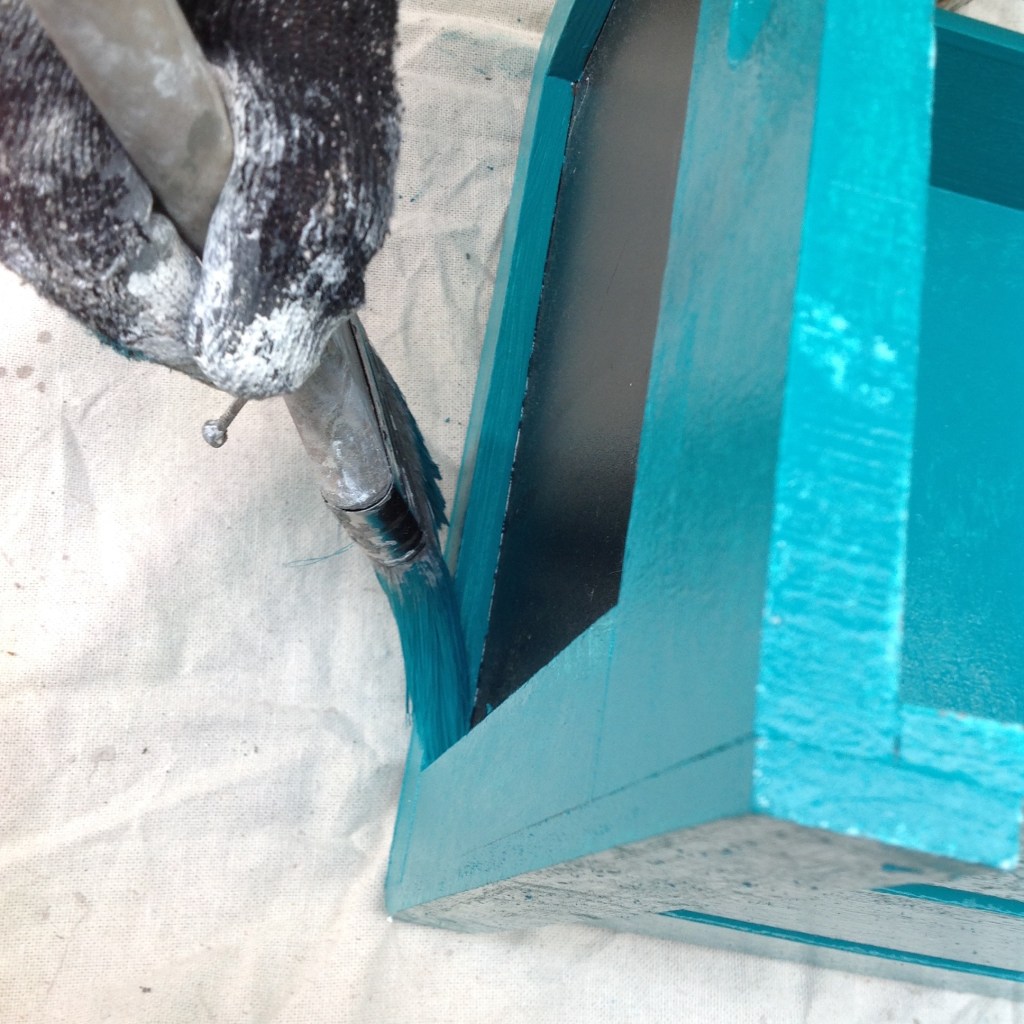
The fourth step is to cut the edges of your crates with your paint color and paint brush.
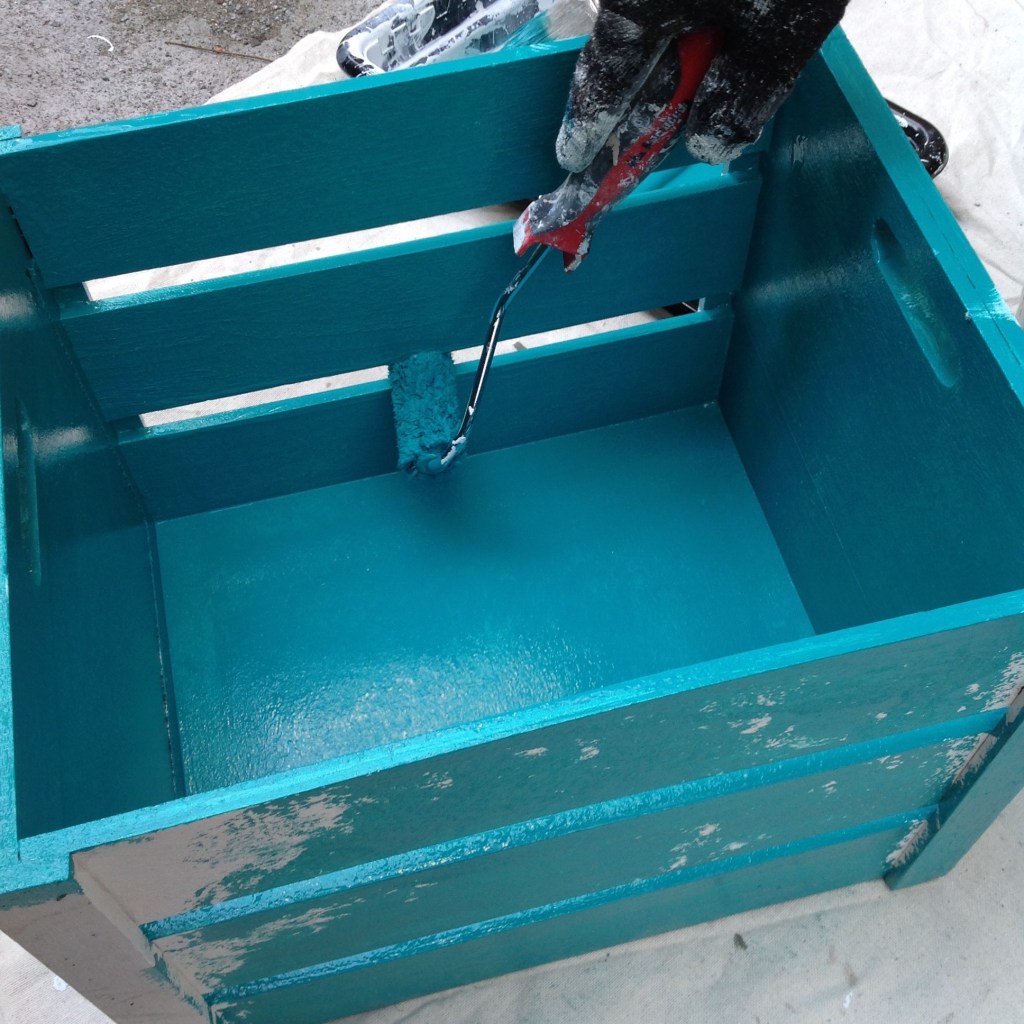
The fifth step would be to use the whizz roller to cover the remainder of the crate with your colored paint. The whizz roller is an excellent tool for getting in the nooks and crannies.
Repeat steps 3 through 5 for each crate individually until all crates are painted and thoroughly covered. Let them dry for a few hours before bringing them inside. I am just so in love with this color!
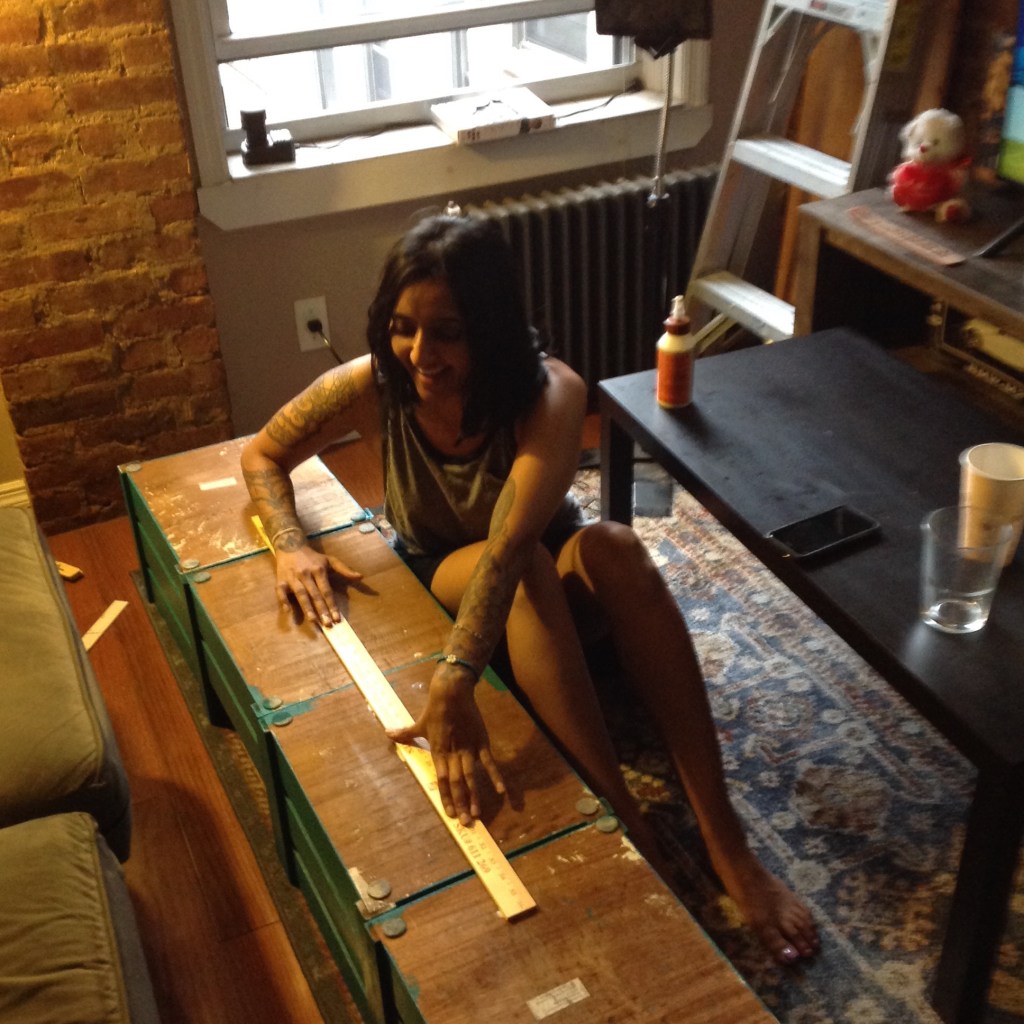
Step 6 will be to use the yard stick and place wood glue all over one side of the yard stick and also on the back of the crates exactly where you’re going to adhere the yard stick. This way the wood glue will adhere better by having both surfaces coated with glue. You’ll want to hold it down with some heavy object, I used two dumbbells and left them on for about 2 hours or so. You can also place a bit of wood glue between each crate as you stack them on top of each other.

After a few hours pass and the pieces are adhered properly you can do the final reveal and see how it turned out! I have to say I am very happy with this awesome DIY furniture. From inception to finish, the piece came out so great. I love the color, I love the size of each crate, and I love the paintjob. It was a team effort and thanks to a wonderful painter, it was done faster than I would have done myself. Painting is a skill!

Leave a comment